You can't buy data strength. You build it.
Google made data strength central at GML 2026. But it is not a setting you switch on. Here is what actually builds it: consent, server-side, and a warehouse.
Mark Rochefort•21 Jun 2026
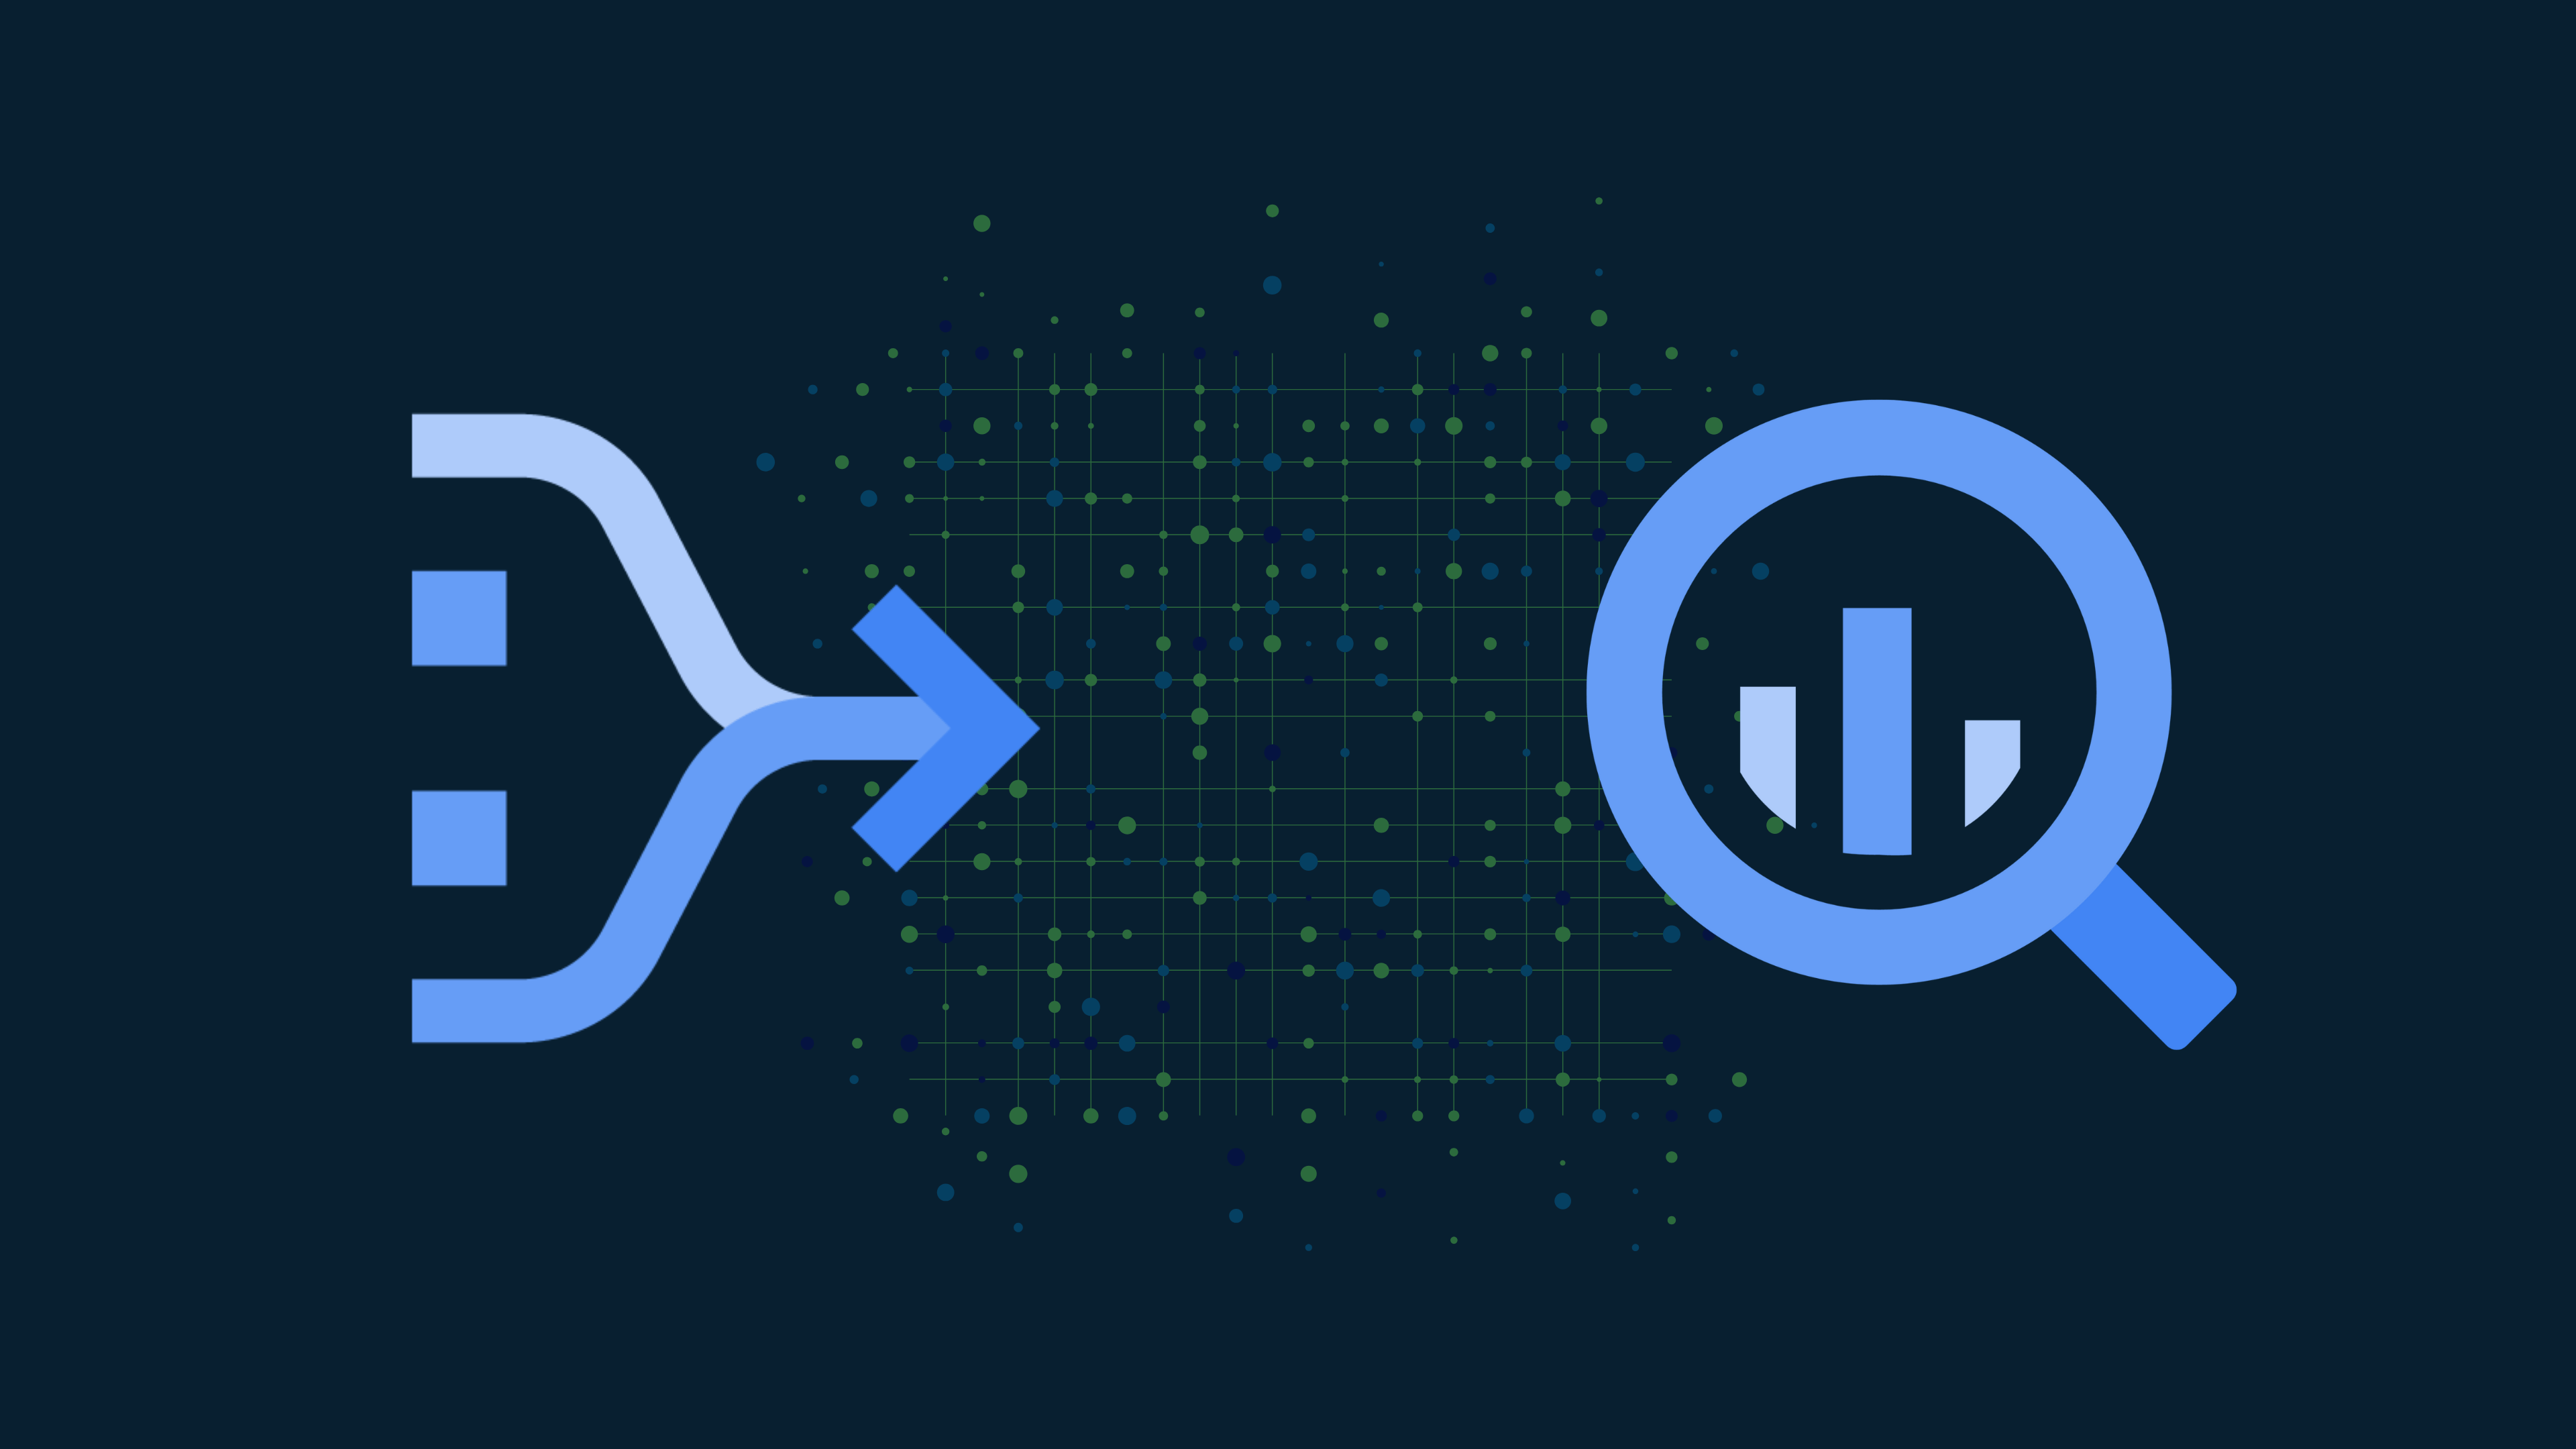
Dataform is a powerful tool for managing your data workflows in a structured, version-controlled, and automated way. Whether you're a beginner or an experienced data engineer, Dataform simplifies SQL-based transformations while integrating seamlessly with Google BigQuery.
Although this blog offers a basic introduction to Dataform's functionality, users can achieve significantly more with Dataform. From advanced scheduling, parameterised queries, and dependency management to complex data modelling, the possibilities are vast.
We will be releasing more blogs diving deeper into various aspects of Dataform, covering best practices, optimisation techniques, and real-world use cases. This blog will also serve as a live blog, where we will continue adding new features, updates, and linking to detailed Dataform-related articles as they become available.
Make sure to bookmark this blog and stay tuned for upcoming posts that will help you leverage Dataform to its full potential!
Now, we'll take you through an end-to-end setup of Dataform, starting from creating a workspace to building target tables, while exploring all its key features along the way.
Before we dive into defining sources and building tables, let’s set up our Dataform workspace.
After setting up your Dataform workspace, it's important to configure the workflow_settings.yaml file. This file defines the default project, location, datasets, and Dataform core version for your workspace.
workflow_settings.yaml configuration:defaultProject: dataform-64568
defaultLocation: EU
defaultDataset: dataform
defaultAssertionDataset: dataform_assertions
dataformCoreVersion: 3.0.0This configuration lets you execute all transformations and assertions within the specified project and datasets, streamlining your workflow management.
Now that your workspace is set up, let’s define the source dataset and tables. We’ll use a free BigQuery dataset for demonstration.
Google provides a variety of public datasets. Let’s use bigquery-public-data.london_bicycles.cycle_hire.
definitions/ folder and workflow_settings.yaml file.definitions/.definitions/source/ directory.config {
type: "declaration",
database: "bigquery-public-data",
schema: "london_bicycles",
name: "cycle_hire",
description: "Cycle Hire Data"
}config {
type: "declaration",
database: "bigquery-public-data",
schema: "london_bicycles",
name: "cycle_stations",
description: "Cycle Stations Data"
}Let’s create transformations that will process and refine our London bicycle hire dataset. We will build intermediate tables, apply multiple transformations, and finalise the results into target tables.
We build intelligence platforms on BigQuery, Dataform and Google Cloud — from setup to ongoing optimisation.
Intermediate tables help us clean and enrich the raw data before final aggregation. These should be placed under the definitions/intermediate/ directory.
config {

  type: "table",

  schema: "intermediate",

  name: "normalized_cycle_rides"

}

-- In the above config, if schema is not mentioned the table will be created under default dataset mentioned in the workflow_settings.yml.

-- If the name is not mentioned then the table will be created as same as the file name. It is good practice to keep the tables names same as your file names.

SELECT

  rental_id,

  bike_id,

  start_station_id,

  end_station_id,

  TIMESTAMP_DIFF(end_date, start_date, SECOND) AS ride_duration_seconds,

  start_date,

  end_date

FROM ${ref("cycle_hire")}config {
type: "table",
schema: "intermediate",
name: "daily_cycle_usage"
}
SELECT
DATE(start_time) AS ride_date,
bike_id,
COUNT(*) AS total_rides
FROM ${ref("normalized_cycle_rides")}
GROUP BY 1, 2Final tables consolidate the transformed data for reporting and analysis. These should be placed under the definitions/output/ directory.
config {

  type: "table",

  schema: "output",

  name: "summary_report"

}

SELECT

  d.ride_date,

  d.bike_id,

  d.total_rides,

  s.station_name AS start_station,

  e.station_name AS end_station

FROM ${ref("daily_cycle_usage")} d

LEFT JOIN ${ref("cycle_stations")} s ON d.start_station_id = s.station_id

LEFT JOIN ${ref("cycle_stations")} e ON d.end_station_id = e.station_idconfig {
type: "view",
schema: "output",
name: "peak_ride_hours"
}
SELECT
EXTRACT(HOUR FROM start_date) AS hour_of_day,
COUNT(*) AS ride_count
FROM ${ref("normalized_cycle_rides")}
GROUP BY 1
ORDER BY ride_count DESCInstead of storing the data physically, we can create views for flexible and cost-efficient querying.
Incremental tables are another type of table that can be defined in Dataform. To learn more about these tables and their uses, please refer to this blog.
The "Not found: Dataset <project_id>: intermediate was not found in location" error message appears in the Dataform UI only when the underlying tables have not yet been created. The error will disappear once the pipeline has been executed and the tables have been created.
Both of these help optimise query performance and reduce costs in BigQuery by improving how data is stored and accessed.
Partitioning divides a table into segments based on a specific column (e.g., ride_date). Queries that filter by this column will scan only the relevant partitions, improving efficiency.
Clustering organises data within partitions based on certain columns (e.g., bike_id and start_station). This speeds up queries that filter or group by these columns.
By implementing partitioning and clustering in our summary_report table, we can ensure efficient storage and faster query execution. This is particularly beneficial for queries that filter on a specific date, as it reduces the amount of data scanned in BigQuery, leading to cost savings. Let's implement partitioning and clustering in the summary_report table as shown below.
config {

  type: "table",

  schema: "output",

  name: "summary_report",

  bigquery: {

    partitionBy: "ride_date",

    clusterBy: ["bike_id", "start_station"]

  }

}

SELECT

  d.ride_date,

  d.bike_id,

  d.total_rides,

  s.station_id AS start_station,

  e.station_id AS end_station

FROM ${ref("daily_cycle_usage")} d

LEFT JOIN ${ref("station_usage")} s ON d.bike_id = s.station_id

LEFT JOIN ${ref("station_usage")} e ON d.bike_id = e.station_idNow that we have defined our transformations and output tables, we need to execute them in Dataform to create the required tables and views in BigQuery.
bike_usage_summarypopular_routes

By selecting multiple actions, we ensure that both tables are created efficiently while adhering to dependencies between intermediate and output tables.

This blog uses a sample structure to simplify how Dataform works. You can adapt Dataform's structure to your project's specific needs after grasping the fundamentals. Depending on the complexity of data workflows, teams may choose to organise their Dataform repository differently, optimise queries for efficiency, or integrate additional features like parameterised datasets and advanced scheduling mechanisms. You can tailor Dataform's flexibility to meet various data engineering requirements.
We build intelligence platforms on BigQuery, Dataform and Google Cloud — from setup to ongoing optimisation.
Take our short assessment to find out where your data stack stands and what to prioritise next.
Google made data strength central at GML 2026. But it is not a setting you switch on. Here is what actually builds it: consent, server-side, and a warehouse.
The monolithic martech stack is collapsing. An open source, warehouse-first intelligence platform is cheaper, more honest, and actually yours.
UK universities face a deficit crisis. Student Recruitment Intelligence can transform Clearing from chaos to precision.